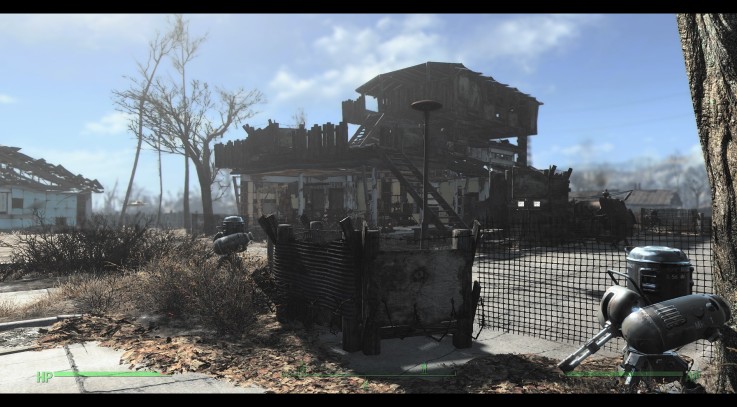
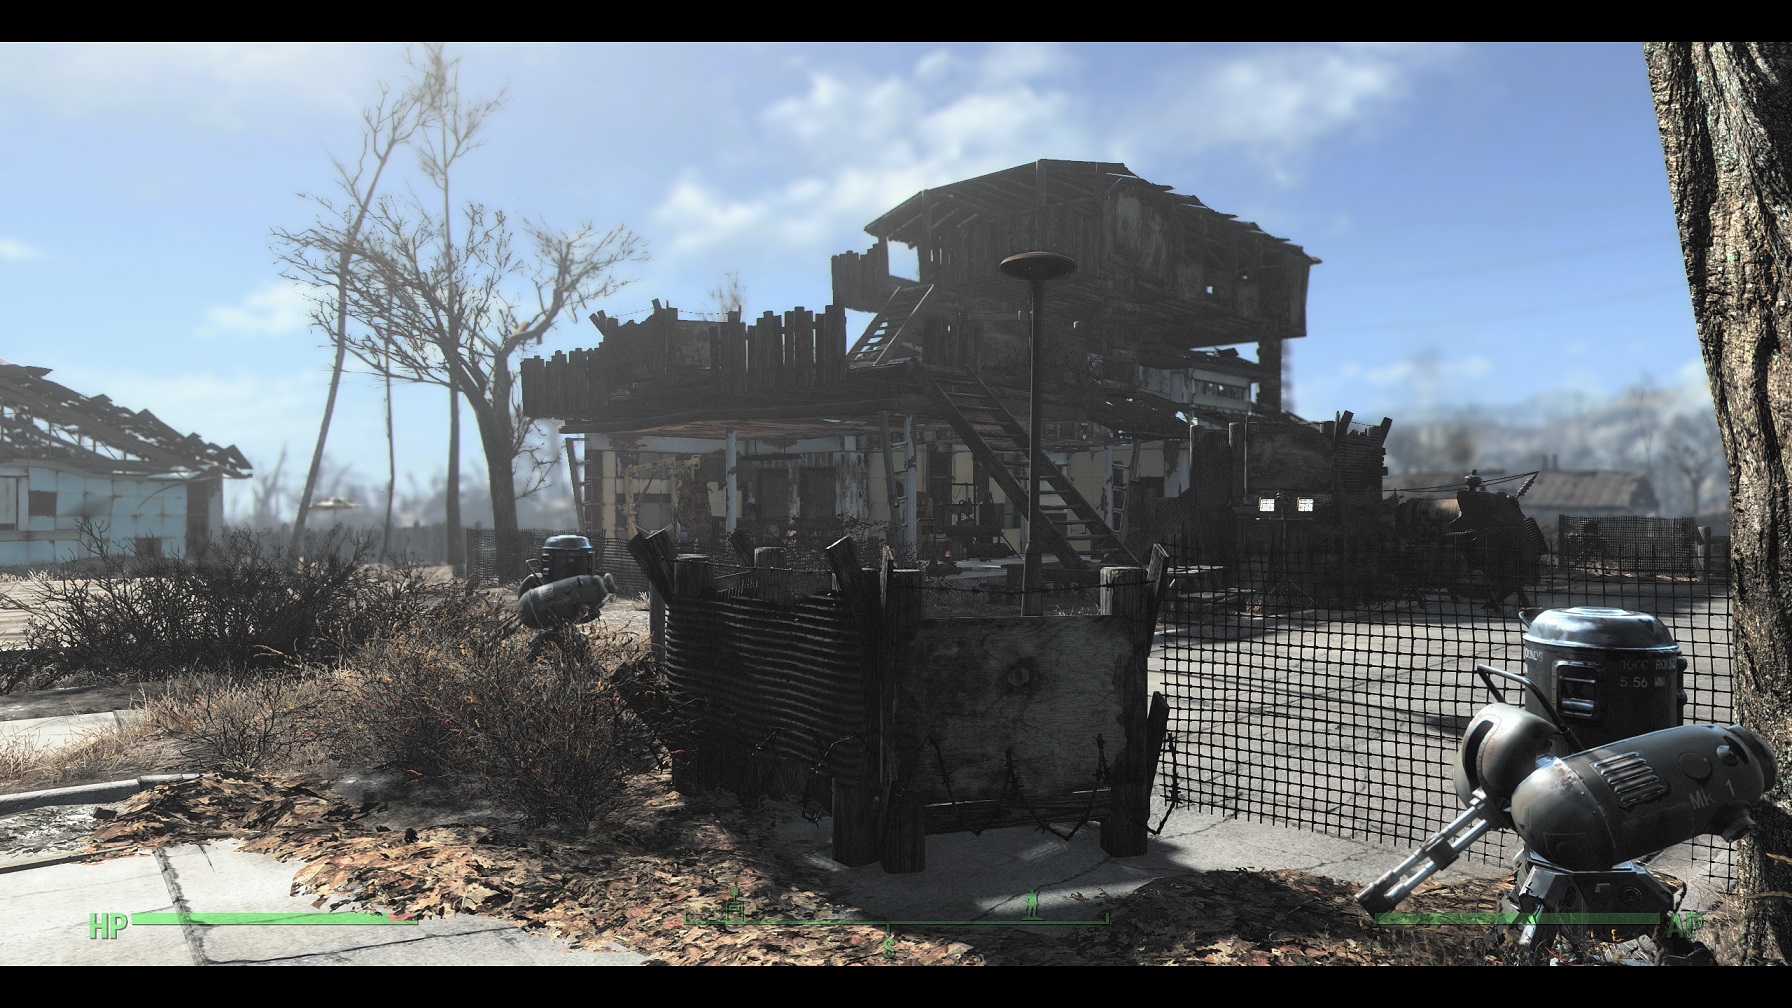
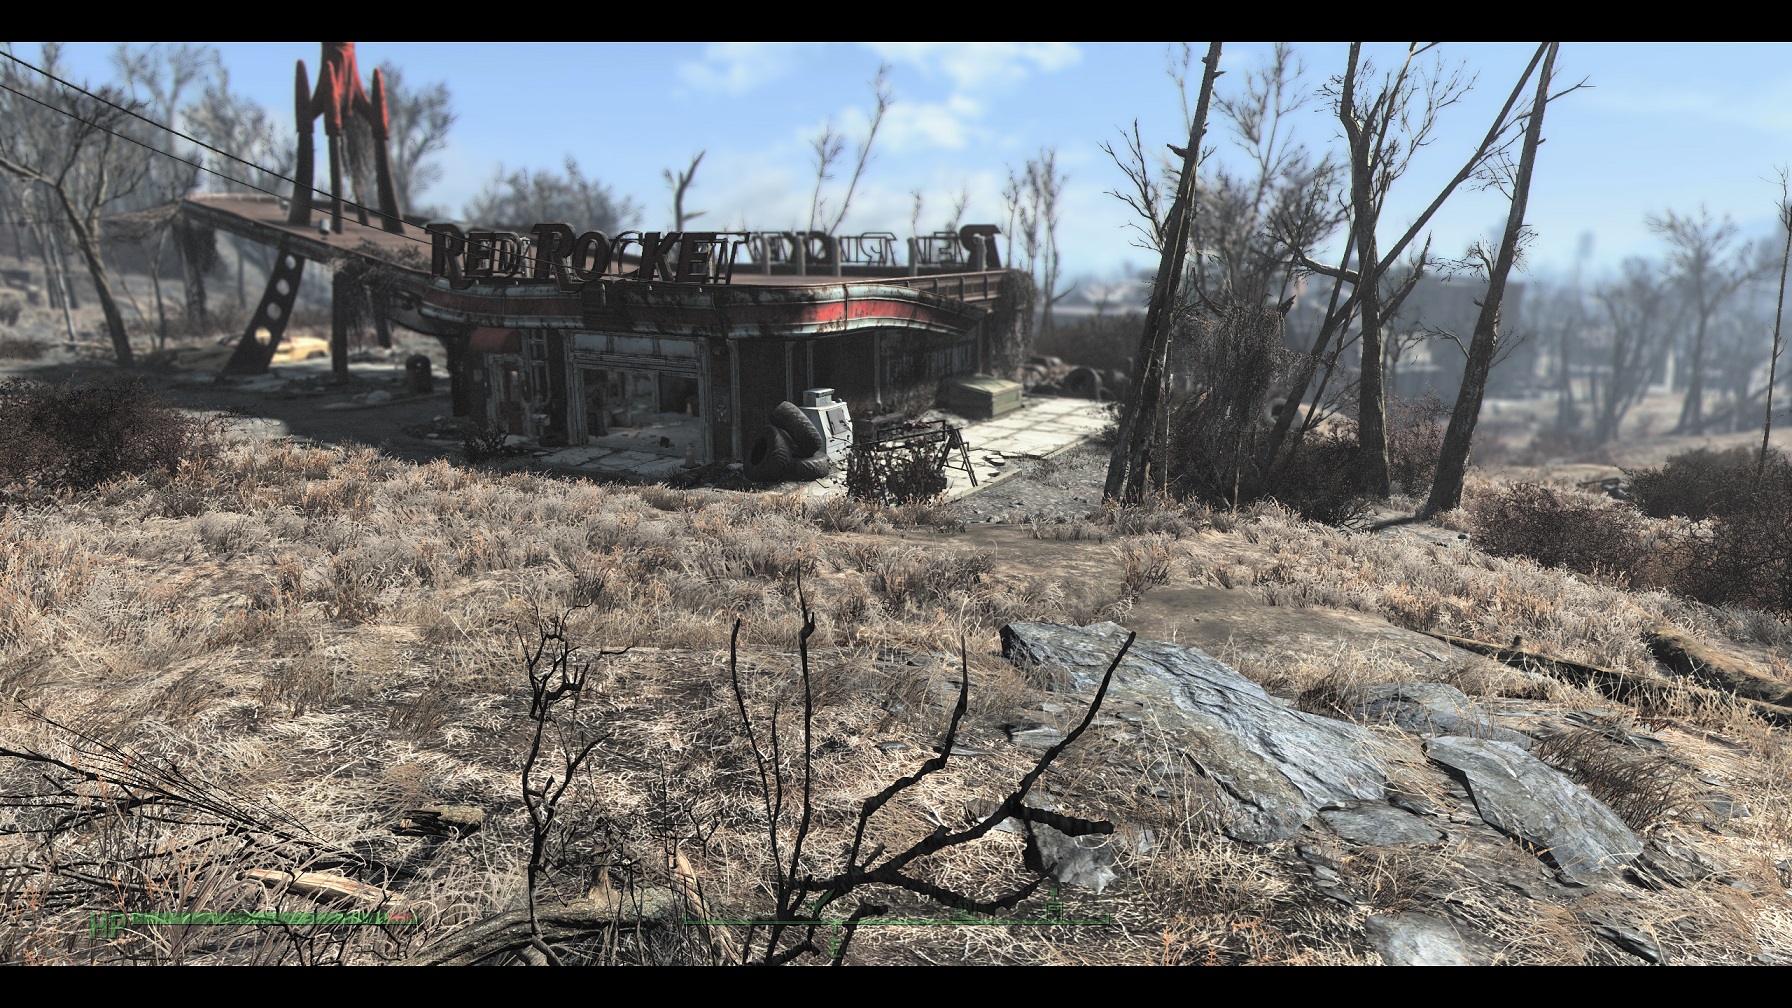
Custom Fallout 4 Film Effect Mod
Thought I would share 🙂
EFFECTS:
Widescreen Boarder
Sharpened Image
Tonemap – Reduced Colour and Gamma
Grain – Vintage
Depth of Field – Auto Correction
TOGGLE ON/OFF OPTIONS:
Toggle 1 [F2] – Boarder, Sharpness, Tonemap & Grain
Toggle 2 [F3] – Depth of Field
VARIATION OPTIONS:
1. Fallout 4 Film Effects v1:
PRO: Auto Correction of DOF & Clear menu’s
CON: Occasional Flickering of DOF
2. Fallout 4 Film Effects v1 – Basic:
PRO: Simple, Clean and minimal performance hit
CON: Nothing fancy (No DOF or Widescreen Boarders)
3. Fallout 4 Effects v1 – Manual Focus:
PRO: No Flickering of DOF & improved performance
CON: Blurred Start Menu & Construction Building Menus
NOTE: Effects are off by default. Press “F2” & “F3” when in game
PERFORMANCE:
Additional 5-10PFS
INSTALLTION:
Place all the files in your root Fallout 4 game directory.
Typically located at:”C:\Program Files (x86)\Steam\SteamApps\common\Fallout 4″
Note: Please delete all existing Reshade/SweetFX files first
Want to disable individual effects?
1. Navigate to the SweetFX_Settings.cfg configuration file located under “..\Steam\SteamApps\common\Fallout 4\ReShade”
2. Right Click SweefFX_Settings.cfg and select EDIT (notepad)
3. Locate and change the “1” to “0” for any of the following options:
BEFORE:
#define USE_LUMASHARPEN 1 //[0 or 1]
#define USE_TONEMAP 1 //[0 or 1]
#define USE_FILMGRAIN 1 //[0 or 1]
#define USE_BORDER 1 //[0 or 1]
AFTER:
#define USE_LUMASHARPEN 0 //[0 or 1]
#define USE_TONEMAP 0 //[0 or 1]
#define USE_FILMGRAIN 0 //[0 or 1]
#define USE_BORDER 0 //[0 or 1]
4. Select File and Save the file.